Making a Flower with Miyuki Beads Inspi637


Miyuki beads Flower Making
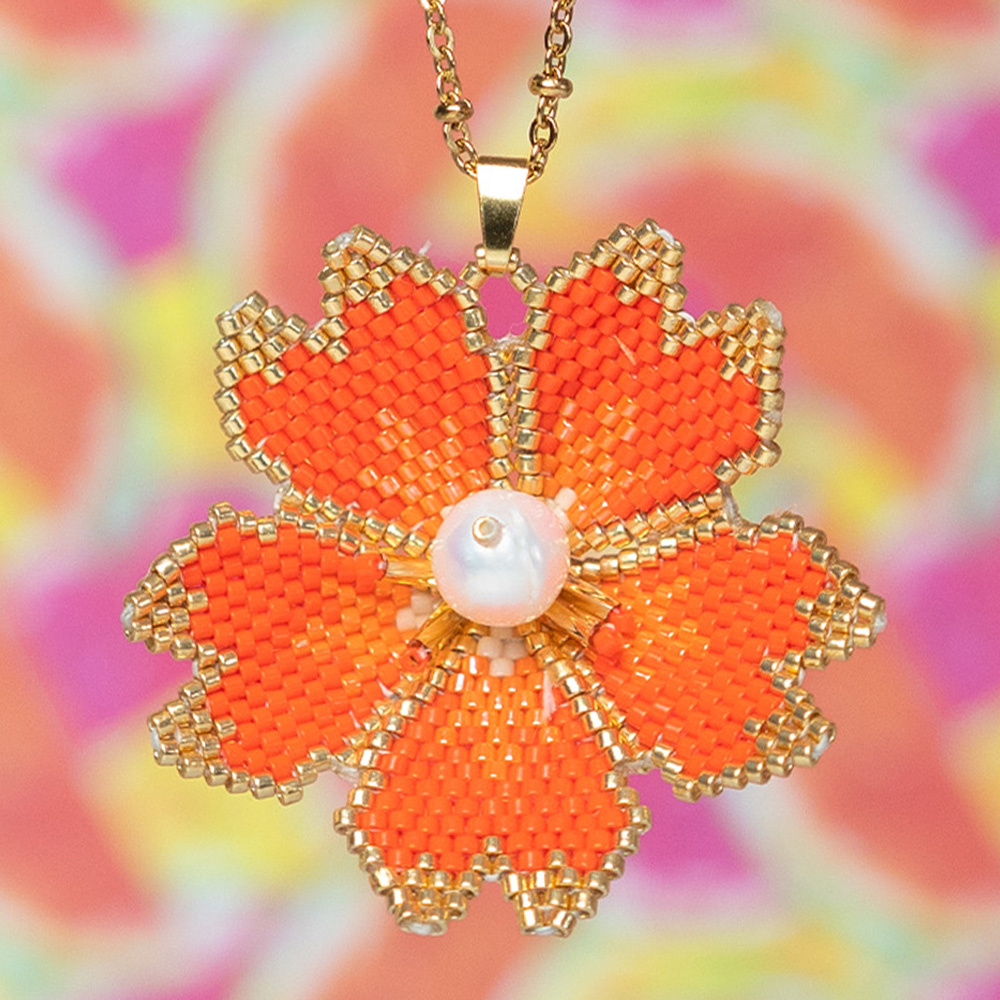
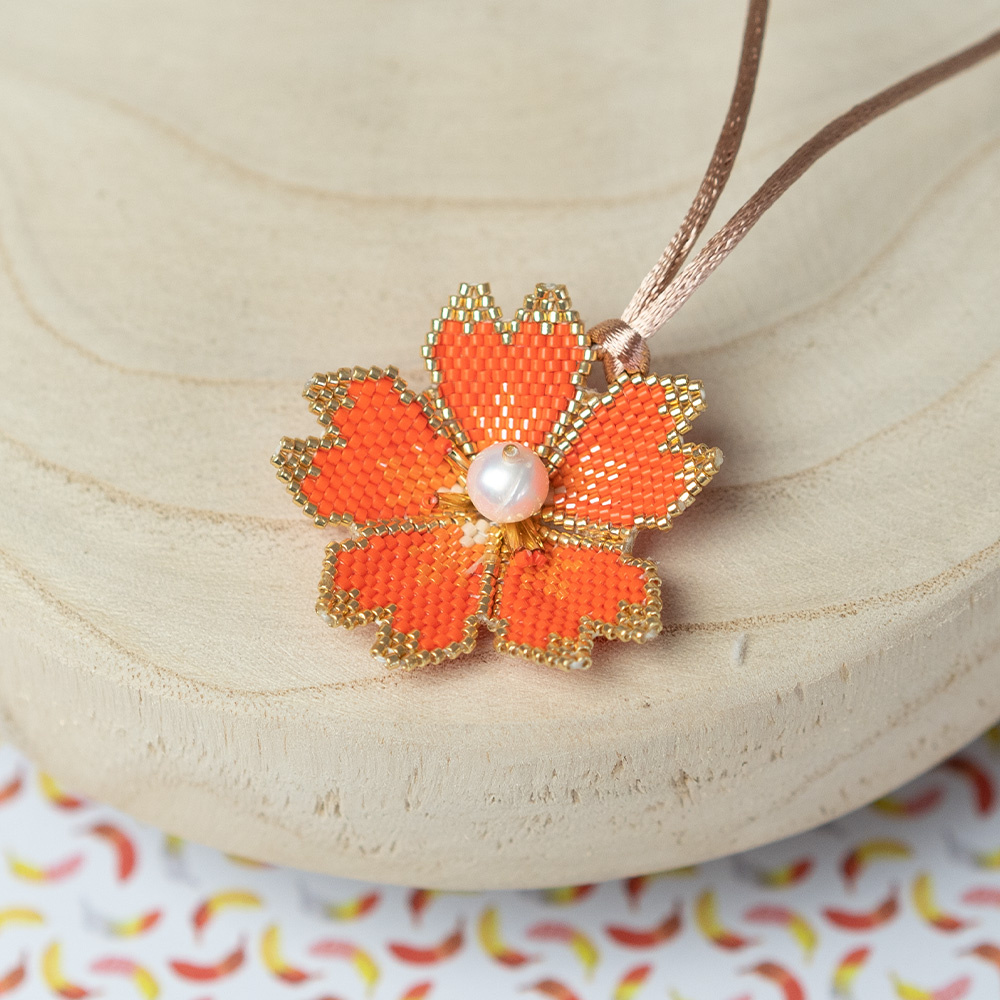
This flower made of Miyuki beads is really super fun to make, and addictive! Because of the wide range of Miyuki beads, you can make this flower in endless color combinations.
In which color will you make the flower?
How to make the flower?:
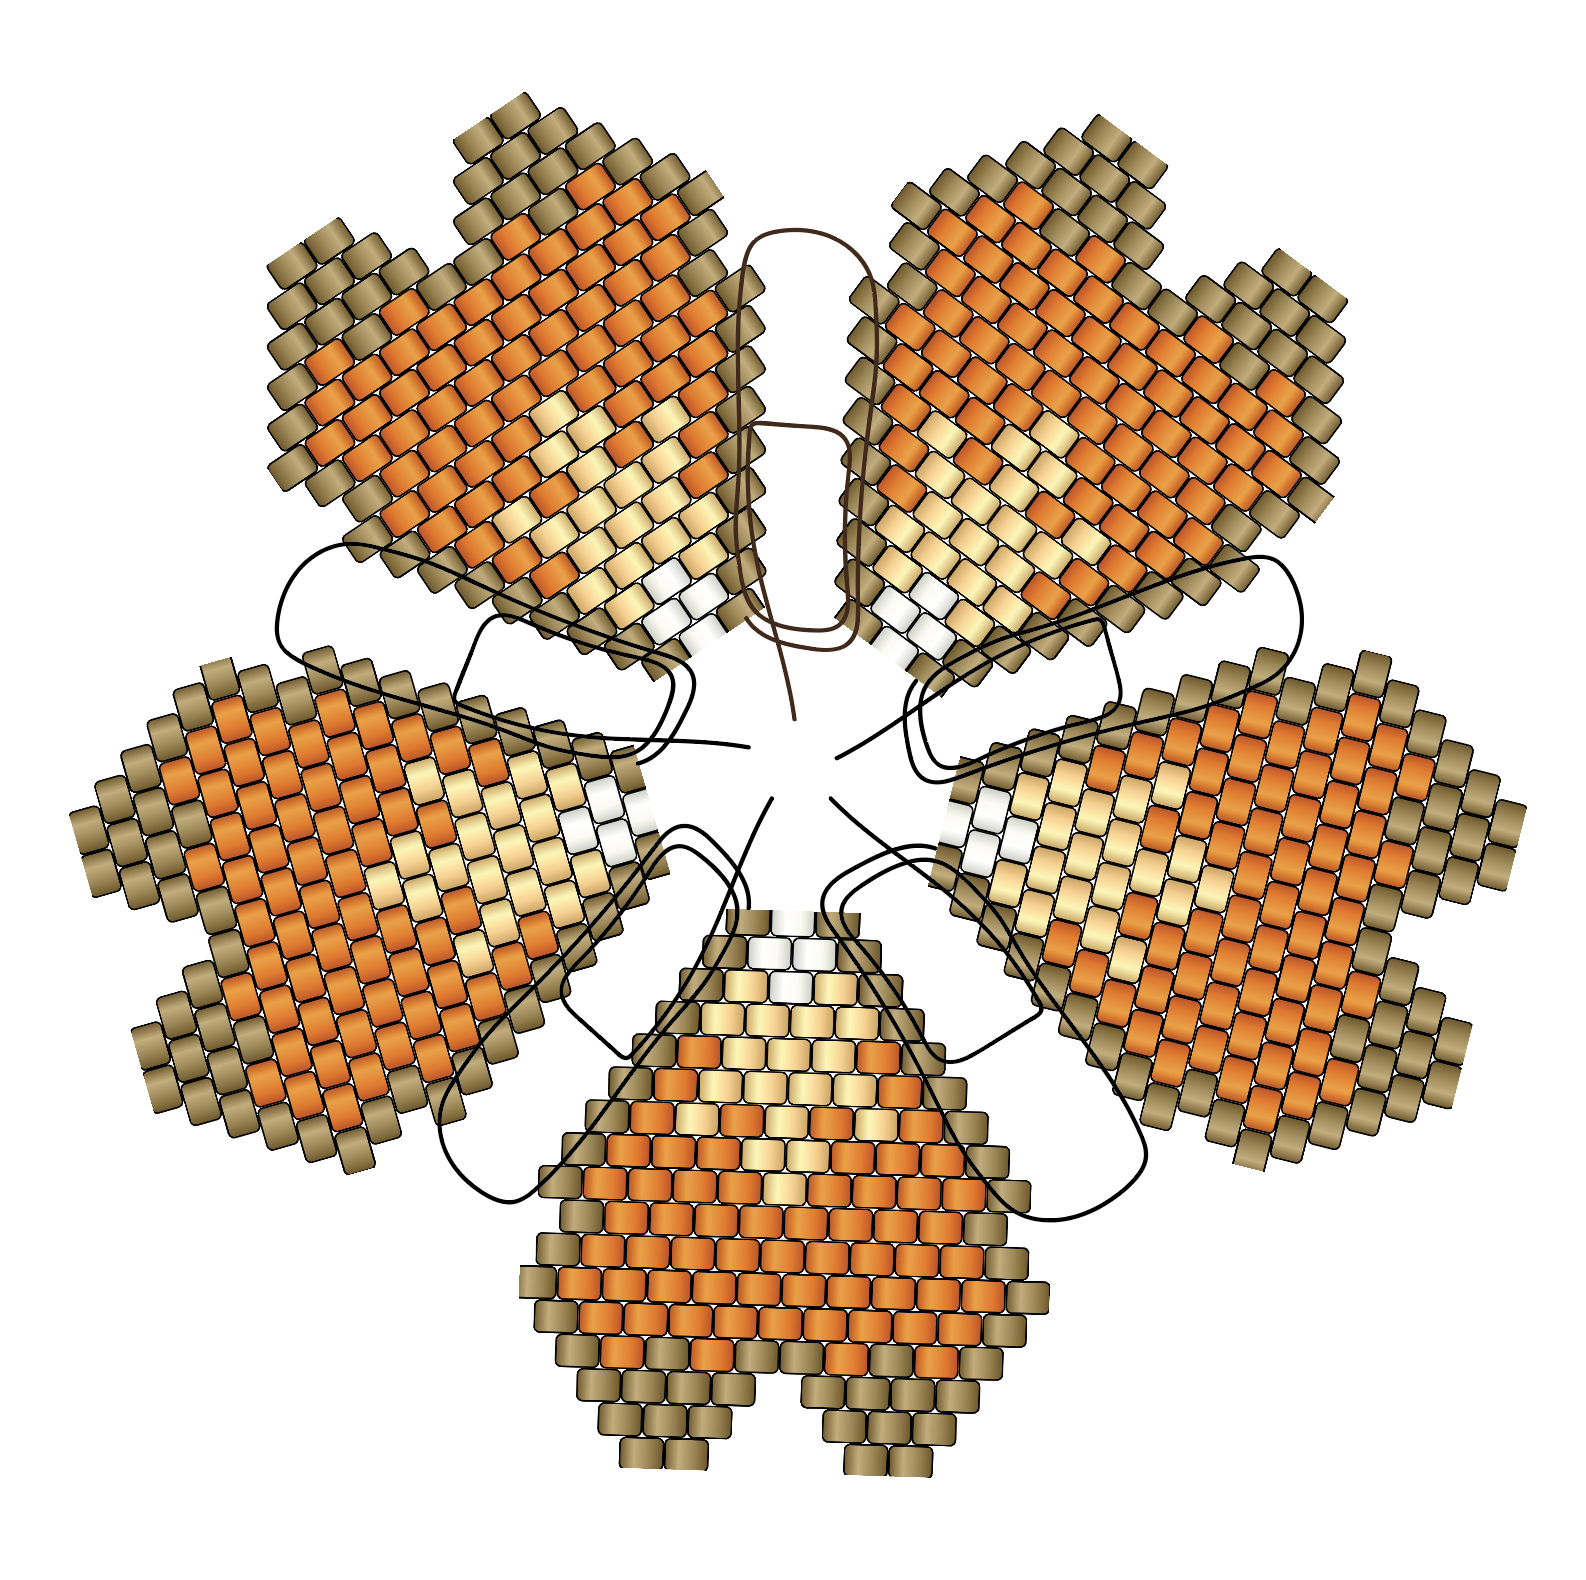
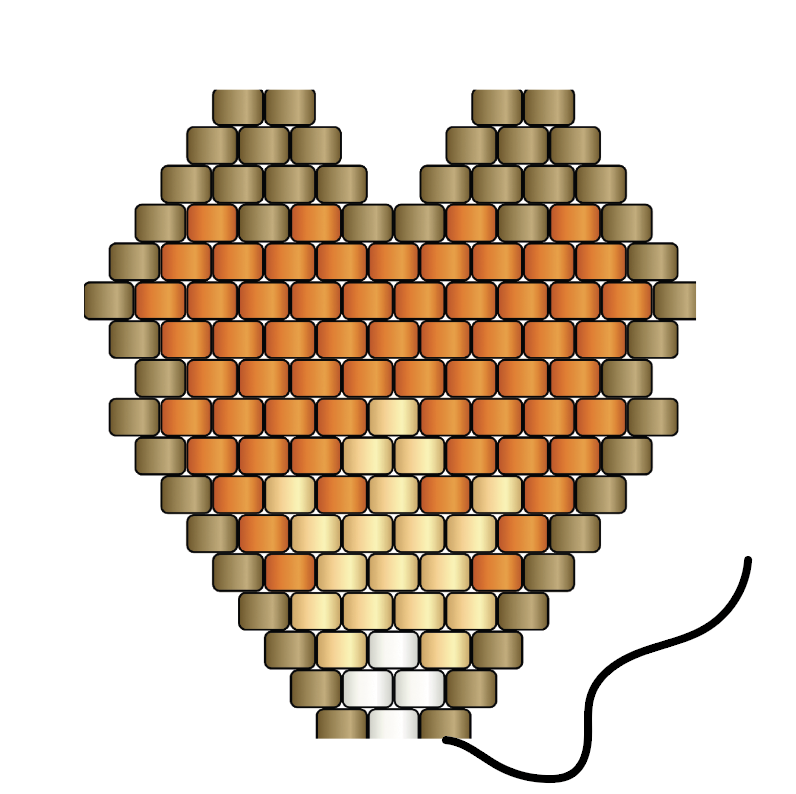
You start by making the petals, you make them with the brickstitch. Explanation of this can be seen in the video below, and the pattern is outlined with the images.
You make 5 of these petals, they are all exactly the same. You make sure you have 1 thread left at the bottom of the petal to finish it. You may cut the other thread and finish it.
When you have made 5 petals you can join them together, this is also drawn in the pictures. If you have made these petals together you finish the threads.
This is done by tying a knot and going through a few beads, if necessary you can use a drop of glue.
You make sure that 1 thread remains. With this you will first make a 'pendant' from which we can eventually hang the necklace. I did this between 2 petals.
Then we are going to attach the middle bead, making sure that your thread comes out at the very bottom of the flower.
For the last bead, thread the pearl and 1 Miyuki delica onto the wire, then go through the pearl again so that the delica is nicely on top of the pearl.
After this you can go back through a few beads at the bottom of the flower.
If you want to make some more stamens in the flower, you can do this with Bugle beads. In the same way you attached the pearl.
Used materials:
Beads 10mm, we used a fresh water pearl
C-lon
Needles
Bugle beads, we used gold
Glue
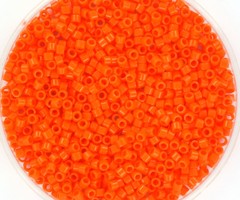
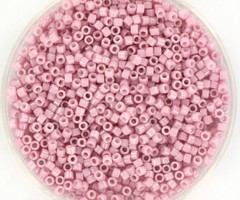
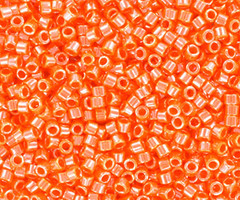
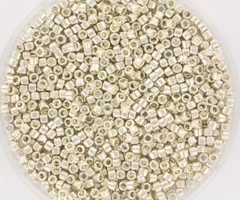
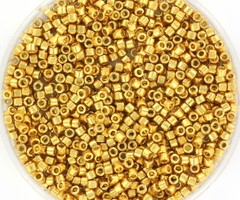
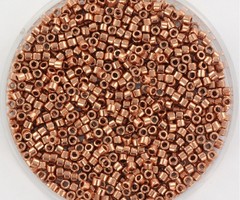
Miyuki Delica 11/0, we used Gold, Orange, Mandarin and Beige
necklace, we used the 2mm Or satin cord 2mm
Have you created something fun with our materials? Tag us on Instagram, we love to see what you're making!