How to make a Bracelet with Miyuki Tila Beads Inspi422


How to make a Bracelet with Miyuki Tila Beads
This bracelet is easy to make yourself! With our wide range of miyuki beads, you can make your own fun color combination!
Start by threading the extension chain and approximately 27 miyuki tila beads. Then thread the lobster clasp and go back through the tila beads. This time go through the other stringing hole. Repeat 2x more for extra strength and then make a double knot and cut the c-lon thread. Put a small amount of jewelry glue on the knot and let it dry well. Tie a new piece of c-lon thread next to the clasp and thread 5 miyuki seed beads. Then insert the needle between the 2 tila beads and go back through the last threaded seed bead. Pull this tight and now thread 4 seed beads and insert your needle between the next 2 tila beads. Again, go back through the last strung seed bead and pull everything tight. Repeat until you get to the other side of the bracelet. Pass your needle under the extension chain and thread 5 seed beads again. Now repeat the steps until you get to the clasp. Now knot the thread to the c-lon next to the clasp. Put a little bit of jewelry glue on it and let it dry well.
And then the bracelet is ready!
Used materials:
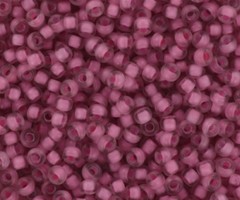
Miyuki seed beads 11/0 semi frosted light raspberry lined crystal
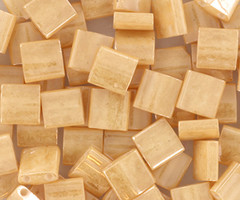
Miyuki tila 5x5mm ceylon light caramel
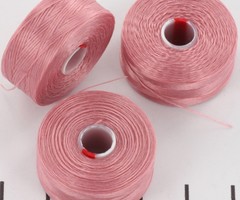
C-lon thread pink
Stainless steel lobster clasp 12mm
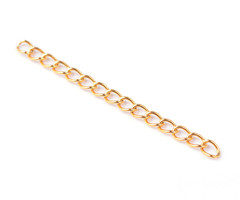
Stainless steel extension chain 47x3mm
Jewelry glue
Beading needle 0,46mm
Share your jewelry projects on instagram with #beadsandbasics for a chance to win € 20,- shopping money.
Enjoy creating!